Why Choose Exness Broker?
Exness attracts traders worldwide for several key reasons:
- User-friendly Platform: The platform features an intuitive interface that’s easy to navigate, perfect for both beginners and experienced traders.
- Multiple Trading Instruments: Trade a wide range of assets, including forex, stocks, indices, commodities, and cryptocurrencies.
- Advanced Security: Funds and personal information are safeguarded with advanced encryption and safety protocols.
- Flexible Account Types: Whether you’re a beginner or a professional trader, there are account types designed to fit various needs.
- 24/7 Customer Support: Multilingual support is available around the clock to assist you at any stage of your trading journey.
Step-by-Step Guide to Registering on Exness
Step 1: Visit the Official Exness Website
The registration process begins by visiting the official Exness website. Make sure you’re on the legitimate Exness platform to avoid potential security issues. On the homepage, you’ll find the “Open Account” or “Register” button, usually located at the top right corner.
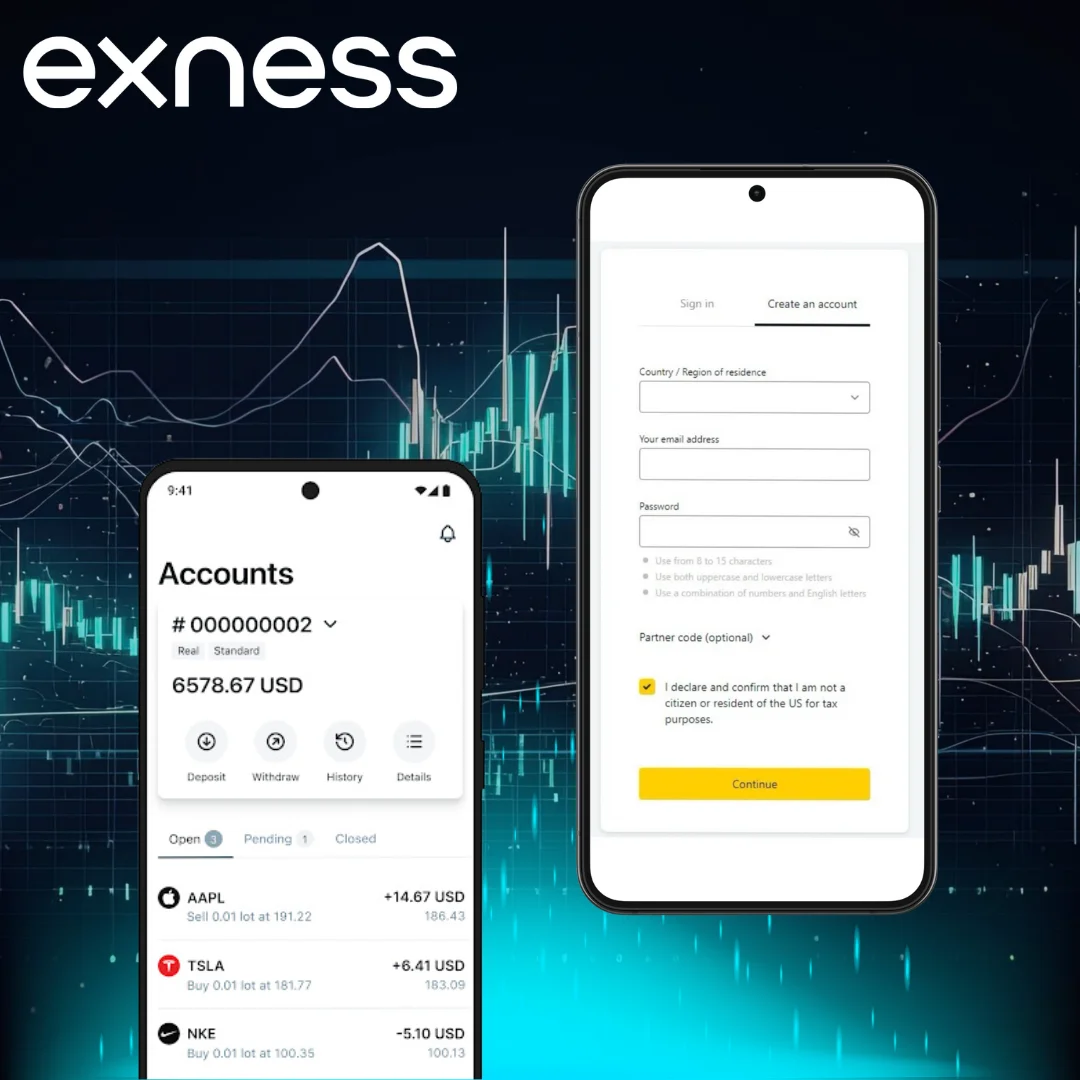
Step 2: Create Your Account
Clicking the “Open Account” button will direct you to a registration form. Here, you’ll need to provide basic details such as:
- Full Name: Use your legal name, as it appears on official documents.
- Email Address: Ensure it’s an active email since you’ll receive confirmation and verification details.
- Password: Create a strong password with a mix of letters, numbers, and special characters for security.
After filling in these details, click on“Continue” or “Next” to move forward.
Step 3: Select Your Trading Account Type
Exness offers several account types catering to different levels of experience and trading preferences. The main types include:
- Standard Account: Ideal for beginners, offering easy access to the trading world with minimal risks.
- Professional Accounts: For more experienced traders, these accounts come with advanced features and tighter spreads.
Take time to choose the account that aligns with your trading goals and strategies.
Step 4: Verify Your Email
Once you’ve completed the initial registration, Exness will send a verification email to the address you provided. Open the email and click on the verification link. This step ensures your email is valid and helps keep your account secure.
Step 5: Complete Personal Information
After verifying your email, you’ll be redirected to a more detailed form where you need to provide:
- Date of Birth: To ensure you meet the minimum age requirement for trading.
- Country of Residence: Although this article doesn’t focus on any specific country, you’ll need to enter your actual location for legal purposes.
- Phone Number: Exness may use this for additional security and to assist with account recovery.
Step 6: Set Your Trading Preferences
Exness allows you to customize your account settings based on your trading preferences. During registration, you can:
- Choose your account currency: This cannot be changed later, so choose carefully based on the currency you’ll be using for deposits and withdrawals.
- Set your leverage level: Beginners may want to start with lower leverage to reduce risk.
Step 7: Identity and Address Verification
Exness complies with international regulations that require traders to verify their identity and address. This step is crucial for the security of your account and to prevent fraud. To complete this, you’ll need to upload:
- Proof of Identity: This can be a passport, national ID, or driver’s license.
- Proof of Address: A recent utility bill, bank statement, or official government correspondence will suffice.
The verification process typically takes a few hours to a few days. You’ll receive an email once your documents have been verified.
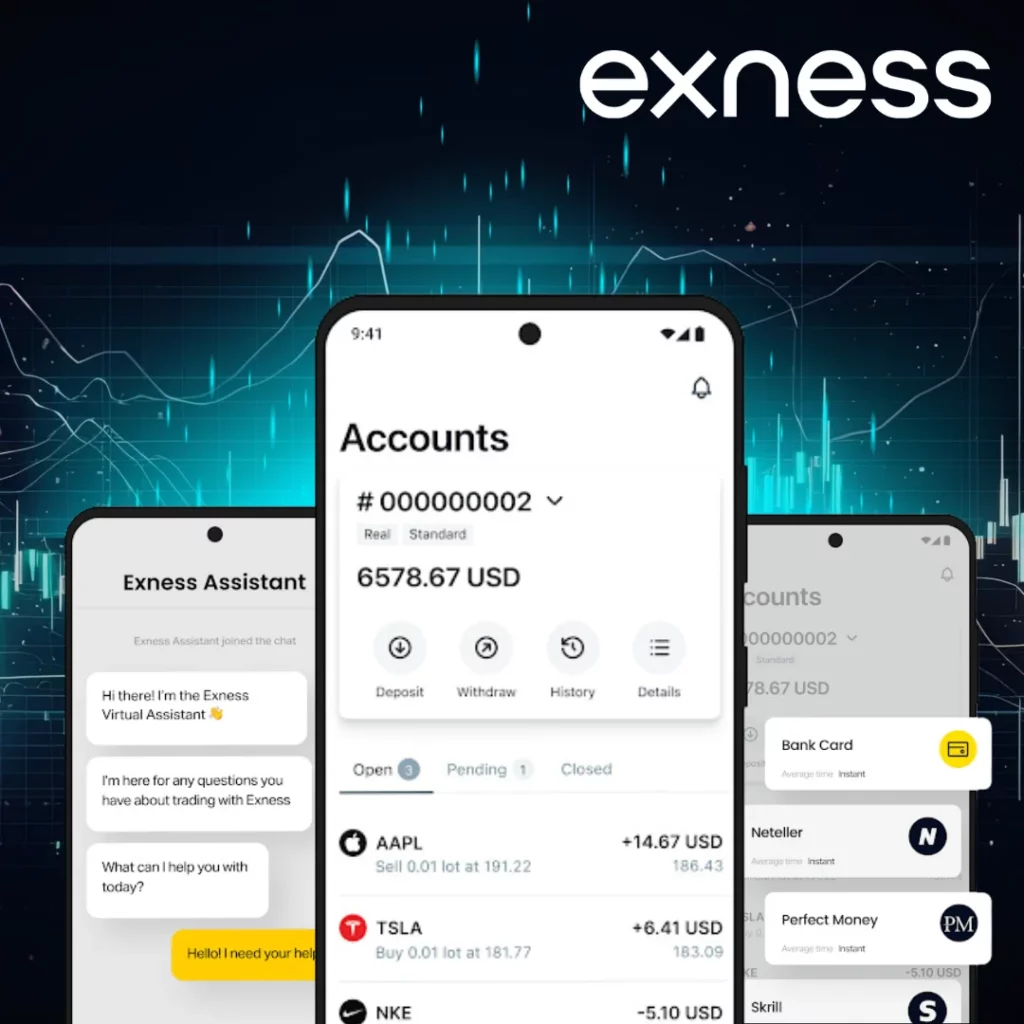
Exness Dashboard
Once you’re registered and verified, you’ll gain access to the Exness trading platform. The dashboard is where you’ll manage all aspects of your trading activities, including:
- Deposits and Withdrawals: Exness offers a wide range of payment methods, including credit cards, e-wallets, and bank transfers. Deposits are instant, and withdrawals are processed quickly, ensuring minimal downtime for traders.
- Market Analysis Tools: Exness provides real-time charts, news updates, and technical analysis tools to help you make informed trading decisions.
- Personal Profile Settings: You can update your personal details, manage security settings, and adjust your trading preferences from your profile.
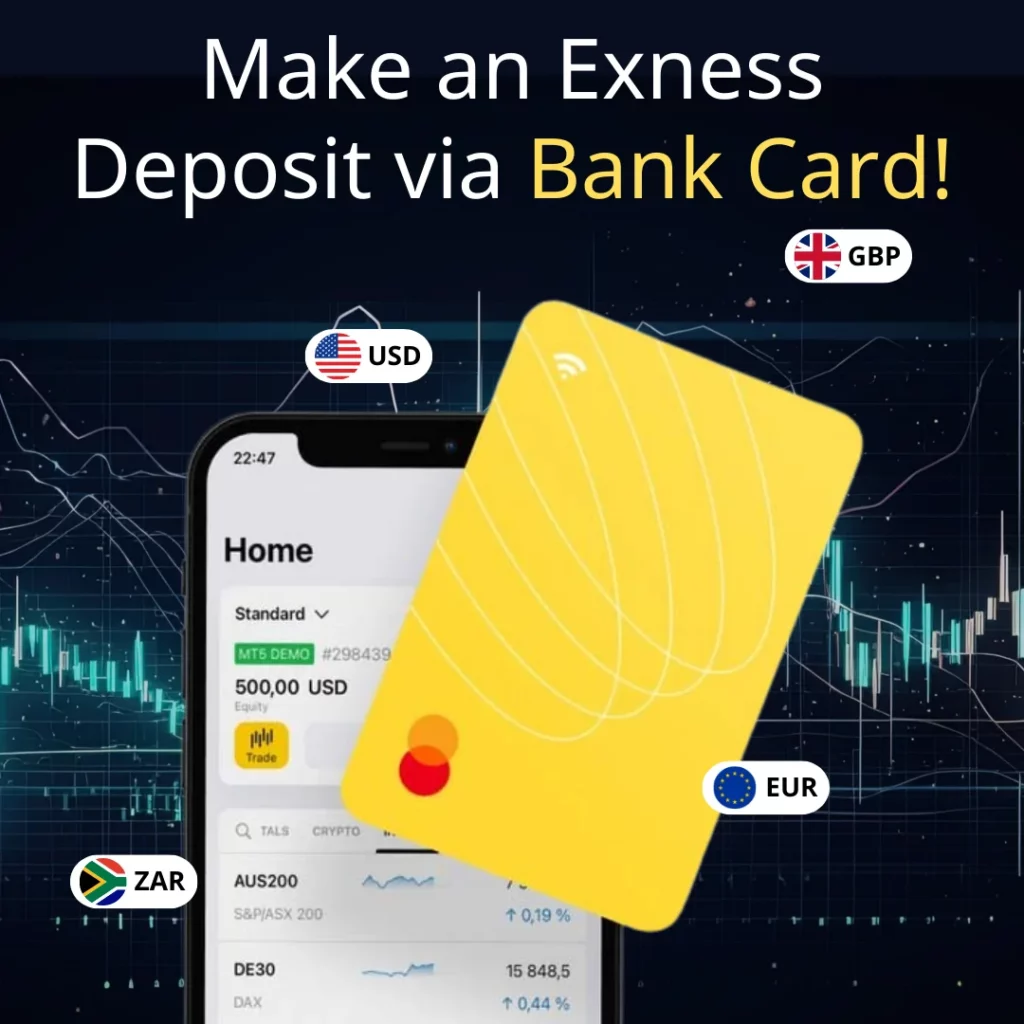
Depositing Funds into Your Exness Account
Now that your account is set up, the next step is to deposit funds. Here’s how:
- Log into your Exness account.
- Navigate to the “Deposit” section of the dashboard.
- Choose your preferred payment method (credit card, e-wallet, bank transfer, etc.).
- Enter the amount you want to deposit.
- Follow the prompts to complete the payment process.
Exness typically doesn’t charge deposit fees, but be sure to check with your payment provider for any applicable charges on their end.
Making Your First Trade
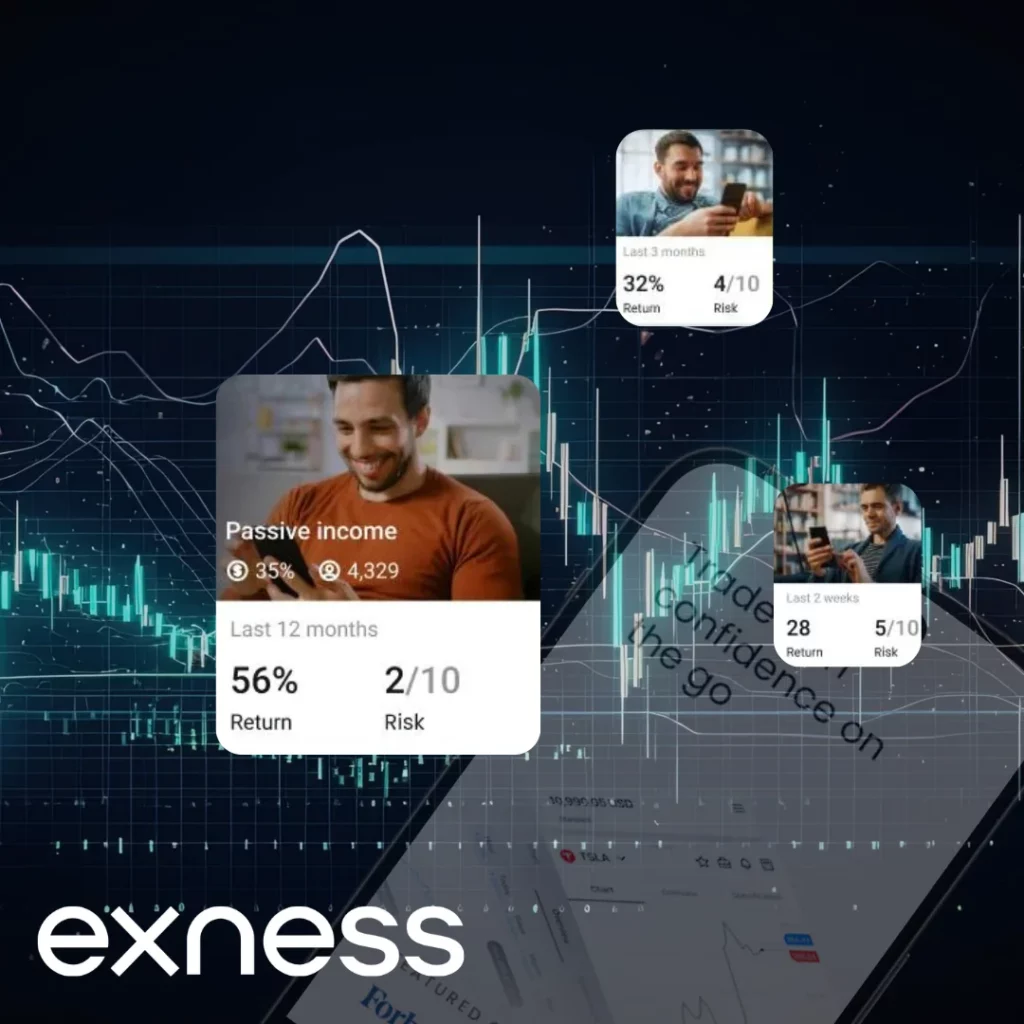
Once you fund your account, you can start trading. Before trading, try the demo account to practice without risking real money. This feature helps beginners test strategies and get familiar with the platform. It’s a safe way to build confidence before using real funds.
Follow these steps to place your first trade:
- Choose a Trading Instrument: Exness offers a variety of markets, including forex, stocks, indices, and cryptocurrencies.
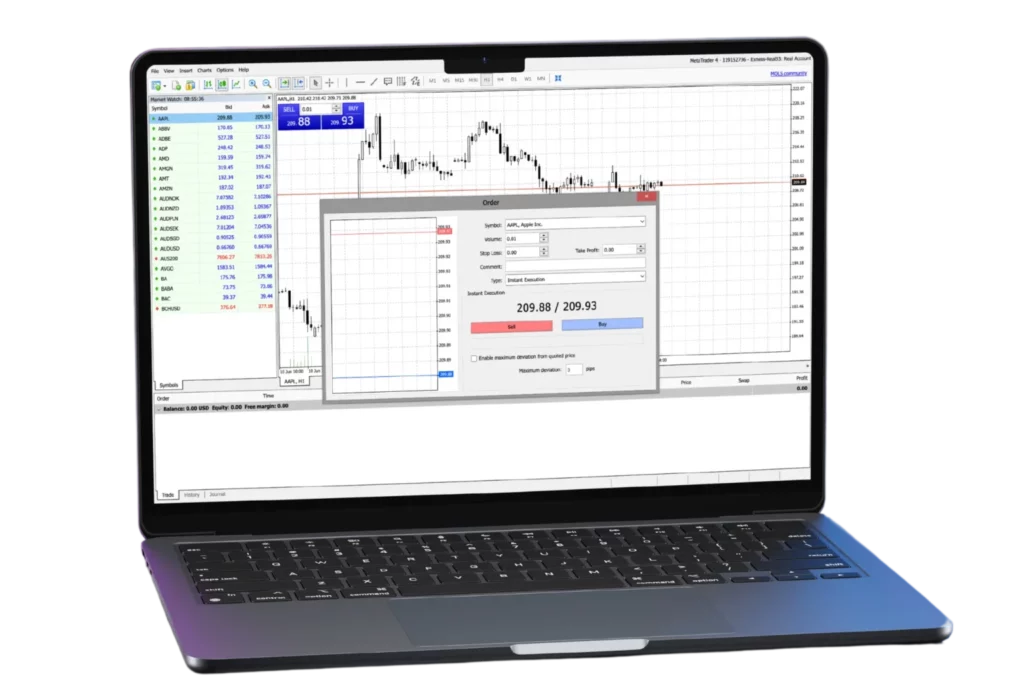
- Analyze the Market: Use the platform’s built-in tools like charts, indicators, and news feeds to assess market conditions.
- Place an Order: Decide whether you want to buy (go long) or sell (go short) an asset. Enter the amount you want to trade and confirm your order.
- Monitor and Close Your Position: Keep an eye on the market and your trade. You can close your position at any time to lock in profits or cut losses.
Withdrawing Profits from Exness
When it’s time to withdraw your profits, Exness makes the process simple. Here’s how:
- Log into your account and go to the “Withdraw” section.
- Select your withdrawal method (the same one you used for depositing, if possible).
- Enter the amount you wish to withdraw.
- Confirm the transaction and wait for your funds to arrive. Most withdrawals are processed within a few hours.
Tips for a Smooth Trading Experience on Exness
To ensure your experience on Exness is smooth and profitable, consider these tips:
- Start Small: If you’re new to trading, start with a small deposit to get comfortable with the platform.
- Use Leverage Wisely: Leverage can amplify your profits but also your losses. Use it carefully, especially if you’re just starting.
- Educate Yourself: Exness offers a range of educational resources, including webinars, tutorials, and articles. Take advantage of these to improve your trading skills.
- Keep an Eye on Fees: While Exness offers competitive pricing, be aware of any potential fees on withdrawals or specific trades.
- Stay Updated on Market News: The financial markets move fast, and staying informed is crucial for success.
Registering is simple and gives you access to a wide range of trading opportunities. You can trade forex, cryptocurrencies, and more. After you complete registration and verify your account, you unlock full access to the trading platform and all its features, tools, and support.
Exness Sign Up FAQs
How do I sign up for an Exness account?
You visit the Exness website or open the Exness Trader App. You click on Sign Up, enter your email, and set a password. The process takes a few minutes. You complete the registration by filling in personal details and verifying your account.